Step 1: In creating a blog spot, you need to create first a google account or if you have already it should be existing. You need to fill up the sign up registration form of the google account.

Step 2. After the registration, you need to go to the
site of the Blog Spot which is the www.blogger.com and sign in together with
your email and password in order to sign in.

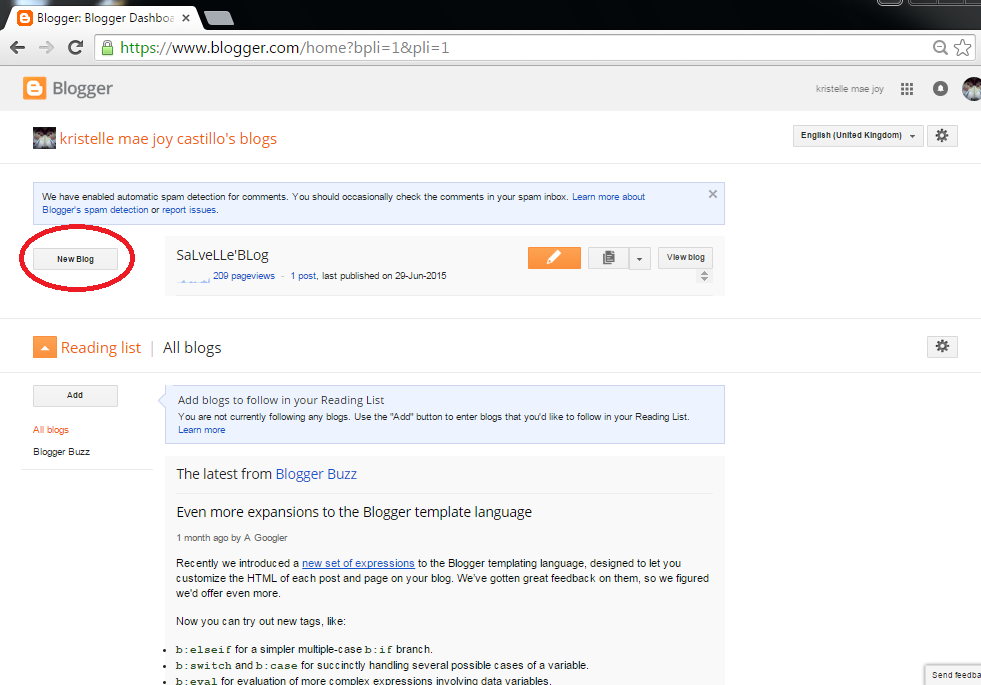
Step 3: Now you’re already sign in the blogger. To
create your own BlogSpot click the New Blog.
Step 4: After clicking the New Blog, this will appear. You need to make the Title for your Blog, the address of your blog and you need also to select a Template for your blog then click the create blog.

Step 5: You have now already a Blog spot. You can click the View Blog in order to check
or verify that you have successfully created a Blog.

Step
6: You can now change your templates design by
clicking the Templates in order to you to go to the Blogger Template Designer.

Step 7: By clicking the Templates this will result. You can now select the Template that you like or prefer to use, as well as the Background, Adjust Widths, Layout and the Advanced. After you finish designed just click the Apply to Blog in order to save your works.

Step 8: As you finish in the Blogger Template Designer. Click the Layout in order to see how your layout are arranged

Step
9: In the layout you can add, remove and edit a gadgets. You can click and drag
to rearrange a gadget. To add a gadget, for example a clock just clicks
the ADD GADGET. The layout area, this will look like:

Step 10: After clicking the ADD GADGET this will be the result, You can now choose what you really want to add in your BlogSpot.

Step 11: In the More Gadgets you can search the gadget you want, for example the clock.

Step 12: After you select, this will look like. Click the Save if you want to add the Clock gadget, then Cancel if you don’t want.

Step 13: In order to save the clock in your Blog Spot you should click the Save Arrangement.

Step 14: You are now added the gadget
“clock”.

Step 15: The same process in adding a
calendar in your BlogSpot just click the Save.

Step 16: The
gadget calendar are now in your Blog Spot.

Step 17: Now we will add a link in the Blog Spot. Link
of a person for example Link List of your classmate. The purpose of the Link is
that you can see his/her own blog. The Link List will be seen in the Basics.

Step 18: To
add a link just click the Link List.

Step 19: In adding a Link, you can put a Title, Number
of items to show in list, Sorting, New Site Name and New Site URL. In the New
Site URL you should put the correct Site of your classmate in order to have a
Link.

Step 20: Now you’re already added a Link List.

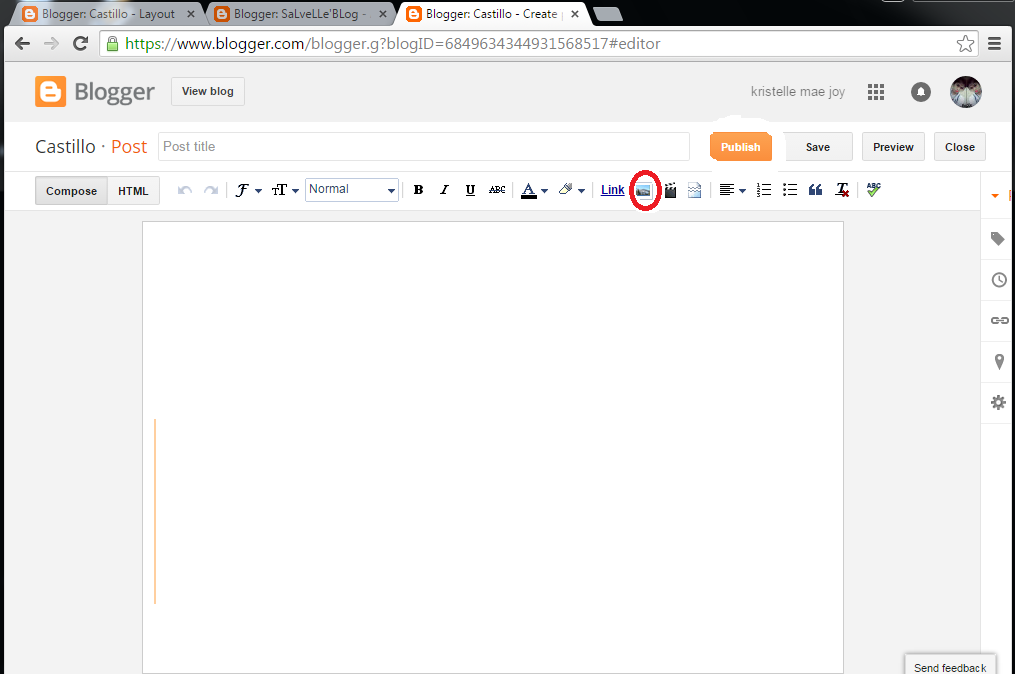
Step 21: To add a post just click the New Post.

Step 22:
After clicking the New Post here is the result, you can add whatever you want
its either a picture, a document etc. For example you want to add an image.
 |
Step 23: You
can select now what image you want to upload in your Blog post.

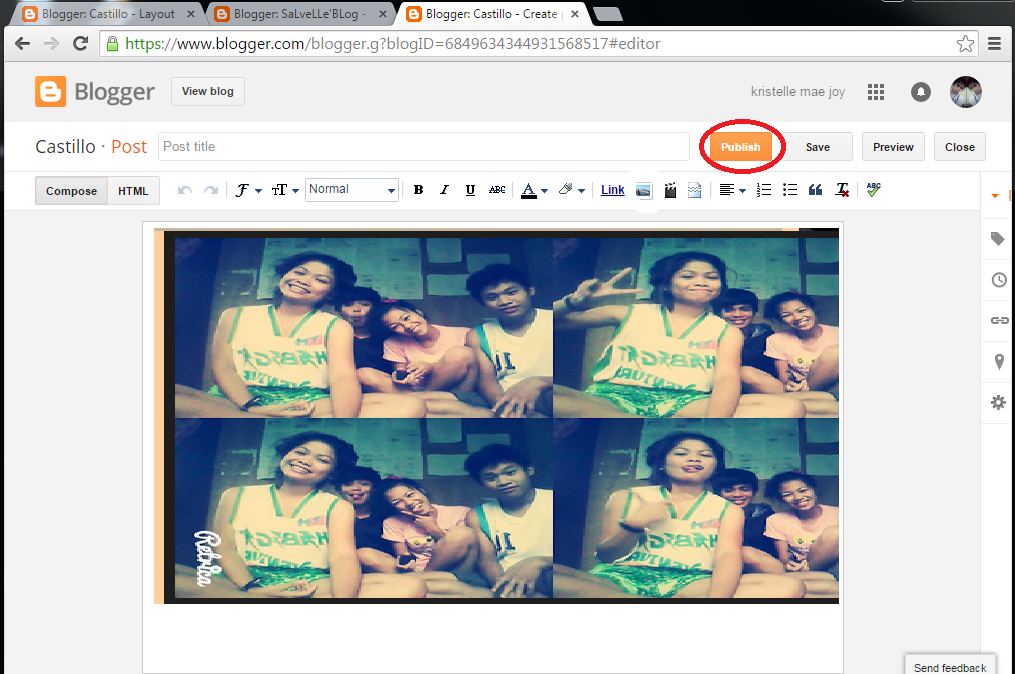
Step 24:
After selecting the image you want to post on your Blog Spot, this will look
like, you can add a post title and then click the Publish in order to save it
on your Blog Spot.
Step 25:
This will be Blog Spot look like. It have a Calendar, a Clock a Link List and an Image Post.

THE TUTORIAL ENDED. <3
x